Rediscovering Ancient Inks
- Carol Palmer

- Apr 6, 2018
- 3 min read

It’s walnut season here in New Zealand so my students have been visiting our walnut tree every morning to collect its fallen bounty and returning with hands covered in brown stains that they could not wash off. We did some investigations and found that we were not the first human beings to notice this stubborn pigment - it has long been used to make both dye and ink.
So, one thing lead to another, and the next few days were a flurry of researching, gathering, trialing and revising until we had produced our own set of natural inks to use in our drawing and writing.
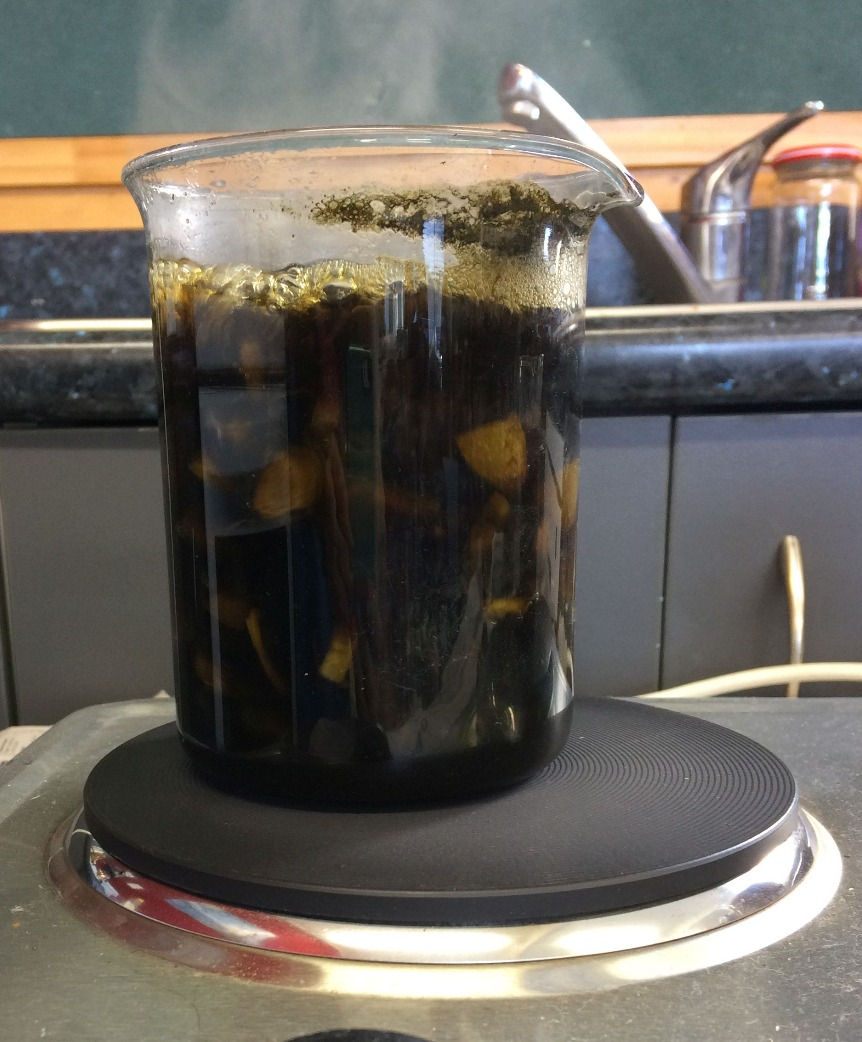
The walnuts had the honour of making our first ink - we simply boiled the husks in water until we were happy with the colour. We tested it as we went along by dipping in a kebab stick and wiping it on our test paper. It seemed that not matter how far we reduce it, it still bleed into the paper a little, so that our lines developed tiny spidery legs. We discovered that watercolour artists add gum Arabic to their paint to prevent it spreading so we added some to our ink and it was perfect!


During our research we discovered that the addition of iron makes walnut ink darker so we made another batch, using iron infused water. (Soak a few rusty iron objects in water for a few days, yes, we have this sort of thing – we are ready for anything!)
We were so happy with our success that we decided to try Roman/Medieval charcoal ink. This is made by crushing charcoal and adding vinegar until you get a smooth consistency, then adding a little gum Arabic. If your medieval village store does not sell gum Arabic, you can use honey as a thickener. One of the children brought in honey from her family hive so we added a little of this, possibly too much as the ink was kind of gloopy.

Next up was avocado ink, using the skin and seed from the avocado from a child’s lunchbox. We boiled them up in much the same way as the walnut husks, reducing the liquid until we were happy with the colour, then adding the gum Arabic. It produced a beautiful pinkish ink – definitely a success.
Once we had warmed up, we moved on the piece de resistance of our ink collection - cochineal. The children LOVED grinding the dried bugs in the pestle and mortar and mixing them into an ink. They discovered they could alter the the colour of the ink by adjusting the pH with vinegar and soda ash. The most exciting part was that the ink changed colour as it dried - this lead to some interesting discussions on the difference between chemistry and magic!

I bought a few dipping pens and the children dipped and wrote and drew to their hearts content. Their intention now, is to make a book about ink, using their own inks and the paper that we made last year and stored away until we had an important enough use for it.


Having been involved in the process and watched the children experimenting with the inks all week, I was itching to get my hands on them and have a play myself. I gathered the inks, pens, and some papers and took to them to the staff-room with me after school, and was greeted with much excitement as everyone picked up a pen and joined the fun. This is how Montessori teachers unwind after school on a Friday!


It turns out they are actually beautiful quality inks which flow well from the pen and have so far held their colour.
Please let me know in the comments below or on the Montessori Handwork Facebook page if you try making your own inks, I’d love to know how it goes.


Comments